


The pursuit of a radiant, sun-kissed glow has never been more accessible or safer, thanks to the burgeoning world of sunless tanning. With increasing awareness of the severe health risks associated with UV exposure, particularly from tanning beds, individuals are seeking alternative methods to achieve that coveted post-vacation luminosity. The self-tanning industry is responding with innovative formulations and expert guidance, positioning sunless tanning as a mainstream beauty practice. Market projections indicate a significant surge in this sector, with the self-tanning product category anticipated to reach an impressive $315 million in the United States by 2030. Despite this growing popularity and market expansion, a notable segment of consumers remains hesitant, expressing concerns about achieving an even application and avoiding an unnatural or undesirable outcome. Even seasoned beauty professionals have admitted to apprehension regarding self-tanning.
For over 15 years, the practice of weekly self-tanning has been a consistent part of my beauty regimen, a habit that began in my youth due to the demands of Irish dancing, where a convincing tan was almost as crucial as the footwork. This extensive personal experience, coupled with a decade spent working within the beauty industry, has provided invaluable lessons learned from countless application mishaps – from the common errors of orange soles and poorly blended wrists to the elusive challenge of achieving a perfectly tan-free underarm. Through diligent troubleshooting and absorbing professional insights, I have refined the art of self-tanning into a meticulous process that delivers a reliable, week-long glow.
Mastering self-tanning requires both effort and the right products, but the payoff is a foolproof, natural-looking tan. To provide a comprehensive understanding of this beauty ritual, this article draws upon the expertise of four celebrity tanners, including one who was instrumental in achieving Ryan Gosling’s iconic tan for his role in the film Barbie. These professionals offer their most effective hacks and product recommendations, covering every aspect from essential skin preparation to application techniques, post-tan maintenance, and easy removal. The goal is to demystify the process and empower individuals to achieve salon-quality results in the comfort of their own homes.
Understanding How Self-Tanners Work
The science behind achieving a sunless tan is rooted in chemistry and skin biology. Self-tanning products typically function through the interaction of an active ingredient with the uppermost layer of the skin.
Key Self-Tanner Formulations
The market offers a diverse range of self-tanning formulations, each designed for specific application needs and desired results:
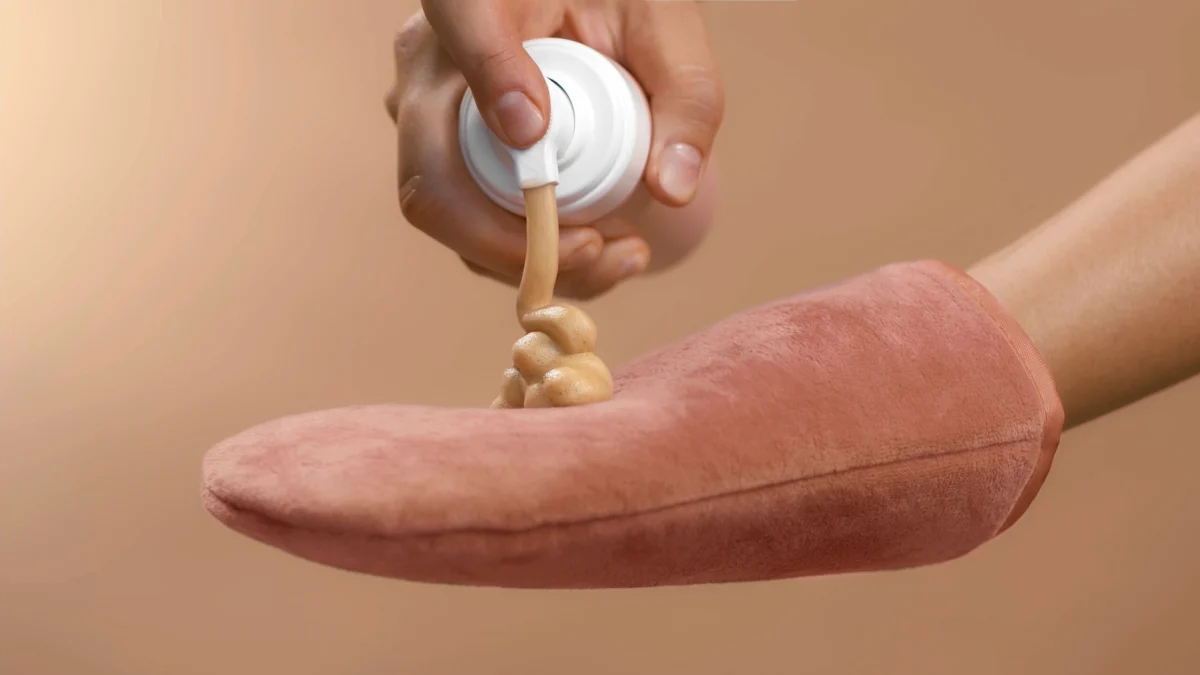
- Mousses and Foams: These are the most popular choices for comprehensive, full-body tanning. Their lightweight texture allows for relatively quick and even application.
- Moisturizers: Designed for gradual tanning or as a daily maintenance product, these lotions build color intensity over time with regular use.
- Mists: Primarily intended for the face, facial mists offer a targeted and often more delicate application. While full-body mists exist, they are less common.
- Tan Drops: These concentrated formulas are mixed with a regular moisturizer, allowing for customizable tan intensity on the face.
- Sprays: Often providing an instant color payoff, sprays are convenient for quick touch-ups or a rapid glow.
The Active Ingredient: Dihydroxyacetone (DHA)
The primary active ingredient in most self-tanners is dihydroxyacetone (DHA). This simple sugar compound interacts with the amino acids present in the stratum corneum, the outermost layer of the epidermis. This chemical reaction, known as the Maillard reaction, produces melanoidins, which are brown pigments that mimic the appearance of a natural tan. The characteristic "musty" or "biscuit-like" scent often associated with self-tanners is a byproduct of this same reaction, which also occurs during the cooking of food.
The intensity of the tan is determined by the concentration of DHA in the formula. Self-tanners are generally available in shades ranging from light to ultra-dark, allowing consumers to select a color depth that suits their preference and natural skin tone.
Color-Correcting Formulas and Undertones
Modern self-tanner formulations have evolved to offer more nuanced results through color-correcting technology. This approach, pioneered by industry experts like Jules Von Hep, co-founder of Isle of Paradise, aims to counteract undesirable undertones and enhance natural skin tones. Brands such as Bondi Sands and St. Moriz have adopted similar color-correcting concepts. These formulas typically utilize undertones such as:
- Peach: Designed to brighten the complexion.
- Green: Used to neutralize redness in the skin.
- Violet or Blue: Incorporated to counteract orange or yellow tones, preventing an artificial appearance.
Kimberley Nkosi, a celebrity tanner renowned for her work with notable figures like Ryan Gosling, emphasizes a distinct approach for individuals with darker skin tones. "The goal is to add richness and dimension, not mask your natural tone," she explains. This focus on enhancement rather than depth ensures that the tan complements and enriches the inherent beauty of darker complexions.
The Role of Color Guides
A crucial feature in many self-tanning products is the "color guide," essentially a built-in bronzer that provides immediate visual feedback during application. Guy Cory, a spray-tan artist and Loving Tan expert, highlights its utility: "It helps you see where you are applying your tan to make sure you don’t miss any spots." Color guides are typically found in developing formulas like mousses and creams, while water-based products such as mists may not feature them. For beginners or those prone to forgetting areas, a self-tanner with a color guide is generally recommended to ensure comprehensive coverage.
The Foundation of a Flawless Tan: Expert Skin Preparation
The consensus among tanning professionals is unequivocal: immaculate skin preparation is the cornerstone of a successful and long-lasting sunless tan. As celebrity tanner Kimberley Nkosi states, "A flawless tan is built before the tan ever touches your skin." This critical phase begins 24 to 48 hours prior to application.
Exfoliation: The Essential First Step
The primary recommendation from all experts is thorough exfoliation. Using a gentle body scrub or an exfoliating mitt, such as the Dolce Glow Exfoliation Mitt or an Allure Best of Beauty winner like the Tree Hut Shea Sugar Scrub, is vital for sloughing off dead skin cells. This process creates a smooth, even canvas, preventing the self-tanner from clinging to dry patches. Nkosi elaborates, "Not exfoliating is what causes patchiness, early fading, and that dull, flaky finish when a tan starts to break down."

Targeted Exfoliation for Problem Areas
Isabel Alysa, a celebrity tanner and founder of Dolce Glow, advises paying special attention to areas prone to uneven tanning, such as elbows, knees, and ankles. These regions, due to their drier nature, can absorb more product, leading to a darker or patchier appearance. Incorporating bath salts, like the Vieve Bath Salts or the Allure Best of Beauty winner Oak Essentials Dream Bath Soak, can further enhance the pre-tan ritual by softening the skin and aiding in the removal of dead cells.
Addressing Common Self-Tanning Dilemmas: Moisturizing and Application
Navigating the advice surrounding self-tanner application can be confusing, particularly regarding the role of moisturizer. The prevailing expert opinion offers clarity on this often-debated topic.
The Pro-Moisturizing Strategy
Contrary to some beliefs, moisturizing immediately before applying self-tanner is a universally recommended practice among tanning experts, provided the correct approach is taken. Hydrated skin is more receptive to self-tanner, leading to a more even and longer-lasting color. However, the type and application of moisturizer are critical.
"Always moisturize right before applying self-tanner," advises Alysa. She further clarifies that while hydrated skin holds tan better, heavy oils can impede absorption. On the day of application, skin should be "clean, dry, and free of any [previously applied] lotions, oils, or deodorant [that do not react well with self-tanners], as these can create a barrier and lead to uneven results."
The strategic application of a lightweight, oil-free moisturizer to specific dry areas – such as elbows, knees, ankles, and even the neck and collarbone area – serves to "dilute the tan in areas where it would otherwise cling too heavily," explains Nkosi. This prevents these areas from becoming excessively dark. For those with very dry skin, an effective, though not oil-free, option like the Allure Best of Beauty winner Naturium Bio-Lipid Body Lotion can also be beneficial.
Mastering the Application Technique
Application is often cited as the most challenging aspect of self-tanning. James Read, a tanning expert and founder of Self Glow by James Read, notes that many individuals become flustered by the color guide and fail to properly blend the product, leading to disappointing results.
For traditional formulas like mousses, a tanning mitt is indispensable for achieving a smooth finish and simplifying the application process. Michaella Bolder, a celebrity tanner and St. Tropez ambassador, offers key advice: "Use a flat hand and light stroke."
Step-by-Step Application Guide:
- Optimal Lighting: Choose a room with ample natural light. Nkosi emphasizes, "Daylight reveals any streaks," allowing for immediate correction.
- Sufficient Product: Apply enough product to the mitt to ensure even coverage and avoid dry patches. Bolder suggests two pumps per limb as a general guideline, advising beginners to start with less and add more as needed.
- Sectional Application: Begin with the legs and work upwards towards the chest and arms. Hands, feet, and the face should be addressed last.
- Gentle Blending: Blend the product using light, circular motions, as if "buffing the skin, not painting it," according to Nkosi. Work efficiently but without undue haste. An upward stroke followed by a circular motion ensures even distribution.
- Arm Application: Start at the wrist and stroke upwards towards the shoulder, ensuring coverage of the entire arm, including the triceps and armpit area.
- Refining and Blending: After initial application, use light circular motions to blend any areas requiring further attention, without adding extra product to the mitt. For knees and elbows, Read suggests a single "swipe over without going over the top." Overworking the product by scrubbing too vigorously or repeatedly can disrupt coverage and lead to streaks. If the tanner does not glide smoothly, a small amount of additional product may be necessary.
- Addressing "Stop Lines": Apply a minimal amount of moisturizer to areas like the backs of heels and wrists to create a natural transition point, preventing harsh lines.
Bolder reassures that with proper prep and the correct shade selection, over-application is unlikely to be an issue. The self-tanning ingredients begin to absorb within 60 seconds and develop over one to eight hours, depending on the product.
Special Considerations for Hands, Feet, and Face
These often-feared areas can be tanned effectively with a few targeted techniques:
- Hands and Feet: Utilize any residual product left on the mitt after tanning the legs. For hands, apply to the top of the hand and then gently work the product over the knuckles and in between fingers by holding the hand in a claw-like position. Alternatively, a dense kabuki brush can be used. Apply a small amount of tanner to the mitt, swirl a bit onto the brush bristles, and then lightly brush across the hands and feet. Maintain the claw position for thorough coverage between fingers.
- Face: While specialized facial tanners (drops, mists, or gradual moisturizers) are available, many individuals use their body tanner. Apply a pump of mousse to the tanning mitt, dab a kabuki brush into it, and then blend lightly across the face. Alysa advises, "Apply sparingly and blend into the hairline, jawline, and down the neck for a seamless finish."
Tantouring: Sculpting with Self-Tanner
"Tantouring" involves using self-tanner to create sculpted effects that last longer than makeup. This technique is ideal for vacations when minimal makeup is desired but a defined look is still preferred. Specialized products like the Dolce Glow Contour Self-Tanning Sculpt + Glow, along with application tools like the St. Tropez Ultimate Face Tan Brush, are designed for this purpose.
To tantour, use a small makeup brush (dedicated solely to self-tanner) to apply a small amount of tanner under the natural contour of the cheekbones, along the jawline, and on the sides of the nose. Essentially, any area where bronzer or contour makeup is typically applied can be utilized for tantouring. After the tan has developed and been washed off, the subtle bronzing in these areas will accentuate facial contours.
Post-Application Care and Development
Once the self-tanner is applied, allowing it to develop properly is crucial for achieving the desired color depth.
The Development Phase
After application, allow the self-tanner to dry for approximately 5 to 10 minutes before dressing in loose, dark clothing. This period is best spent avoiding activities that may cause sweating, as moisture can lead to patchiness. For underarm areas, particularly in warmer climates, applying a light dusting of loose powder after the tan has dried can help absorb excess moisture.
It is also important to avoid washing hands immediately after application to prevent tan lines on the wrists. Drinking through a straw can help avoid a pale upper lip. The development time will vary depending on the product, but for mousse formulas, it typically ranges from three to eight hours.
The First Shower and Beyond
If the self-tanner includes a color guide, it is essential to wash it off after the recommended development time to prevent transferring color to clothing or bedding. During this initial shower, experts recommend avoiding oils and harsh soaps, or even just rinsing with water before gently patting the skin dry. Even without a color guide, a gentle rinse is advisable for the first shower. Be mindful that some color-guide residue may persist, potentially staining white towels. Throughout the showering process, and in daily washing, gentle cleansing is key to maintaining the tan’s integrity.
Maintaining and Refreshing Your Sunless Glow
The longevity of a sunless tan depends heavily on consistent post-tan care.
Daily Hydration for Longevity
"Hydrated skin holds color longer," states Nkosi, underscoring the importance of daily moisturizing after the initial tan has developed and been rinsed. Using a gradual tanning lotion, such as the Allure Best of Beauty winner Jergens Natural Glow + Brighten Daily Moisturizer, every couple of days can help maintain the tan’s depth, particularly during vacation periods.
Refreshing the Face
The face typically experiences faster tan fading. Tanning mists, like the St. Tropez Mist and Saltyface The Face Set, are effective for touch-ups, correcting missed spots, or addressing any application errors.
Expert Techniques for Self-Tan Removal
Even with meticulous application, occasional premature or uneven fading can occur due to factors like swimming, sauna use, or dry skin. While traditional methods involved soaking in oil or using harsh exfoliants, newer, specialized tan removers offer a more efficient solution.
Advanced Tan Removal Products
These products often utilize chemical exfoliants to break down the DHA in the skin, facilitating easier removal. Options include foams, oils, and gentler exfoliating scrubs. Nkosi recommends the Rose and Caramel Purity Excel 60 Second Tan Remover, a product also favored for its effectiveness. For full-body removal, the Rose and Caramel Purity Reset 4-in-1 Self-Tan Removing Gloves are also a popular choice.
The typical usage involves applying the remover to dry skin, allowing it to soak in, and then gently removing it in the shower with an exfoliating tool. Post-removal, applying a moisturizing lotion is crucial to replenish lost skin oils.
Alternative Removal Methods
For those preferring not to use specialized removers, an oil soak followed by gentle exfoliation can also be effective, though it may require multiple sessions over a couple of days. Chemical exfoliants containing alpha hydroxy acids (AHAs) like glycolic or lactic acid, found in products such as the Naturium KP Scrub & Mask, can also aid in gently breaking down the tan and preparing the skin for reapplication.
By adhering to these expert-backed strategies, individuals can confidently embrace the art of sunless tanning, achieving a natural, radiant glow that enhances their appearance without compromising their health. The increasing sophistication of self-tanning products and the growing body of expert knowledge ensure that a beautiful, bronzed complexion is within reach for everyone.